DIY Smart Home Energy Monitoring: High-Accuracy Data Without the High Price Tag
Introduction: Smarter Energy, Smarter Savings
Tired of sky-high energy bills and feeling powerless over your consumption? Many homeowners feel trapped by opaque utility statements and a lack of insight into where their energy dollars are going. This guide provides a comprehensive, accessible solution: building your own DIY smart home energy monitoring system. Gain unprecedented control over your energy usage, identify hidden costs, and dramatically reduce your environmental footprint – all without breaking the bank or needing a computer science degree.
The Rising Importance of Home Energy Monitoring
Energy monitoring is no longer a luxury; it's a necessity. As energy costs continue to rise (predicted to increase by 15% in the next 5 years, according to the Department of Energy Outlook 2024), understanding and controlling consumption becomes paramount. Real-time data allows you to make informed decisions, optimize appliance usage, and identify inefficiencies that would otherwise go unnoticed. This proactive approach leads to significant savings and contributes to a more sustainable lifestyle.
Debunking the Myth of Complex DIY Smart Homes
The idea of a DIY smart home often conjures images of intricate wiring, complex programming, and a hefty price tag. This guide dispels that myth. Modern microcontrollers, open-source software, and readily available sensors have democratized smart home technology. We'll focus on a "no-code" or low-code approach, leveraging user-friendly interfaces and pre-built components to simplify the process, even for those with limited technical experience.
Why Accurate Monitoring Matters: Beyond the Bill
While saving money is a primary motivator, accurate energy monitoring offers benefits beyond just a lower bill. It allows you to:
- Identify energy-intensive appliances: Pinpoint the biggest energy hogs in your home.
- Track standby power consumption: Uncover hidden energy drains from devices left plugged in.
- Optimize renewable energy usage: Maximize the efficiency of solar panels or other renewable sources.
- Detect potential problems: Identify faulty appliances or wiring issues before they become major problems.
- Reduce your carbon footprint: Make informed decisions to minimize your environmental impact.
This Guide's Unique Approach: Depth and Practicality
This guide goes beyond basic tutorials. We provide in-depth explanations of the underlying technology, detailed step-by-step instructions, real-world examples, and troubleshooting tips. Our focus is on achieving high accuracy and reliability, empowering you to build a professional-grade energy monitoring system at a fraction of the cost. We will also focus on solutions that do not require extensive coding or advanced computer science knowledge.
 Image: A collection of smart home devices, including bulbs and security cameras, on a dark background.
Understanding Your Energy Profile: Laying the Foundation
Before diving into the technical aspects, it's crucial to understand your current energy consumption patterns. This involves identifying key energy users, understanding how energy is measured, and setting realistic goals.
Identifying Key Energy Hogs: A Room-by-Room Assessment
Start by conducting a room-by-room assessment of your appliances and electronics. Consider both usage frequency and power consumption. For example, a refrigerator runs constantly, while a clothes dryer uses a lot of power but only runs for a limited time. A poorly insulated room might require more heating or cooling, increasing your energy usage.
Understanding Kilowatt-Hours (kWh) and Power Consumption
Power is measured in watts (W) and represents the instantaneous rate of energy consumption. Energy is measured in kilowatt-hours (kWh) and represents the total amount of energy used over time. Your electricity bill is based on kWh. One kWh is equivalent to using 1000 watts for one hour. Understanding this distinction is crucial for interpreting energy monitoring data.
- Watts (W): Instantaneous power draw.
- Kilowatts (kW): 1000 Watts.
- Kilowatt-hours (kWh): Energy used over time (kW x hours).
Analyzing Appliance Energy Ratings and Standby Power
Most appliances have an energy rating label that indicates their estimated annual energy consumption (in kWh). This is a good starting point, but it's important to remember that actual consumption may vary based on usage patterns. Also, pay attention to standby power, also known as "vampire draw," which is the energy consumed when an appliance is turned off but still plugged in. According to a 2023 study by the Lawrence Berkeley National Laboratory, standby power can account for up to 10% of a household's total energy consumption.
Using a Simple Kill-A-Watt Meter for Baseline Measurements
A Kill-A-Watt meter is an inexpensive device that plugs into an outlet and measures the power consumption of any appliance plugged into it. Use it to measure the power consumption of your appliances in both active and standby modes. This provides a baseline for comparison after implementing your energy monitoring system.
 Image: A set of smart home devices including a camera, speaker, and lightbulb on a white background.
Setting Realistic Energy Reduction Goals
Based on your initial assessment, set realistic energy reduction goals. Aim for a specific percentage reduction in your energy bill over a defined period (e.g., 10% reduction in the next six months). Break down your goals into smaller, achievable steps, such as reducing standby power consumption or optimizing HVAC system settings.
The DIY Energy Monitoring Toolkit: Affordable Hardware and Software
Building your DIY energy monitor requires selecting the right hardware and software components. We will prioritize affordable and open-source options, ensuring accessibility for all users.
Choosing the Right Energy Meter: Accuracy vs. Cost
The core of your energy monitoring system is the energy meter. Several options are available, ranging from simple plug-in meters to more sophisticated whole-house monitoring solutions. For DIY projects, an ESP32 or ESP8266-based microcontroller combined with current transformers (CT clamps) offers an excellent balance of accuracy and cost.
ESP32/ESP8266 Based Solutions: A Powerful and Affordable Platform
The ESP32 and ESP8266 are low-cost, low-power microcontrollers with built-in Wi-Fi capabilities. They are ideal for DIY smart home projects due to their affordability, ease of use, and extensive community support. While both are viable, the ESP32 generally offers more processing power and memory, making it suitable for more complex applications.
- ESP32: More processing power, more memory, Bluetooth connectivity.
- ESP8266: Lower cost, simpler to use, Wi-Fi connectivity.
Current Transformers (CT Clamps): Selecting the Right Size and Type
CT clamps are sensors that measure the current flowing through a wire without physically contacting it. They are essential for measuring the power consumption of individual circuits or appliances. When selecting CT clamps, consider the following factors:
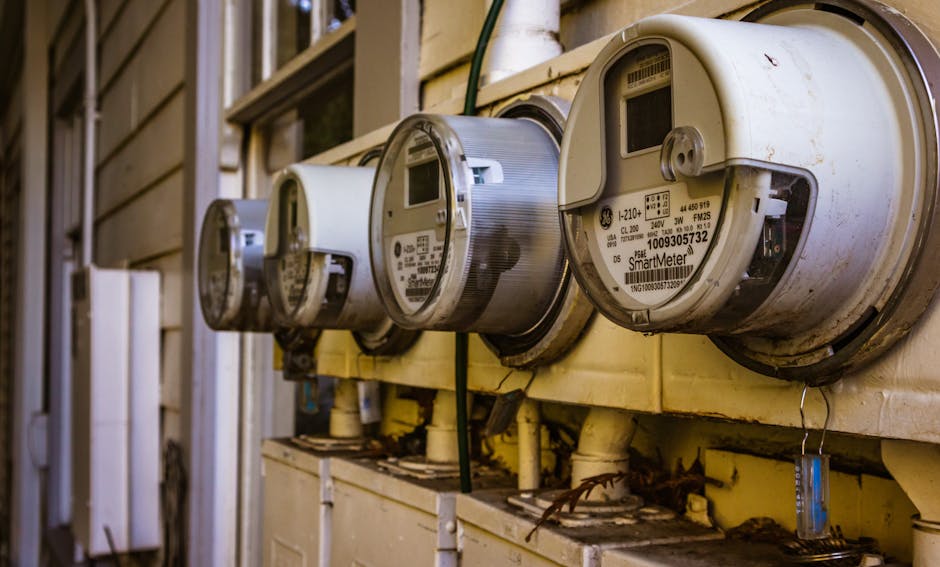 Image: Image of multiple smart electricity meters installed on a residential exterior wall, showing environmental adaptation.
- Current Range: Choose a CT clamp with a current range that matches the expected current draw of the circuit being monitored. A clamp that is too small will saturate and provide inaccurate readings, while a clamp that is too large will be less sensitive.
- Accuracy: Look for CT clamps with a specified accuracy rating. Higher accuracy is generally better, but it also comes at a higher cost.
- Type: CT clamps are available in various types, including split-core and solid-core. Split-core clamps are easier to install because they can be opened and closed around the wire without disconnecting it.
Wireless Communication Protocols: Wi-Fi vs. Bluetooth vs. Zigbee
Your energy monitor needs to communicate data to a central hub or cloud platform. The most common wireless communication protocols are:
- Wi-Fi: Widely available, high bandwidth, but can be power-hungry.
- Bluetooth: Short-range, low power, suitable for direct device-to-device communication.
- Zigbee: Mesh network, low power, ideal for large-scale smart home deployments.
For most DIY energy monitoring projects, Wi-Fi is the most practical option due to its ease of setup and existing infrastructure.
Open-Source Software Options: ESPHome, Tasmota, and Custom Firmware
The ESP32/ESP8266 requires firmware to control the CT clamps and transmit data. Several open-source firmware options are available:
- ESPHome: A user-friendly platform that allows you to configure your ESP32/ESP8266 devices using a simple YAML configuration file. No programming experience is required.
- Tasmota: Another popular open-source firmware option with a web-based interface for configuration and control.
- Custom Firmware: For advanced users, you can write your own firmware using the Arduino IDE or other development tools.
For beginners, ESPHome is highly recommended due to its ease of use and integration with Home Assistant.
Setting up your hardware: Step-by-step guide
- Gather components: ESP32/ESP8266, CT clamps, resistors, wires, breadboard (optional).
- Connect CT clamps: Connect the CT clamps to the appropriate pins on the ESP32/ESP8266 (refer to schematics below).
- Install ESPHome: Install the ESPHome add-on in Home Assistant.
- Create a new ESPHome device: Configure the ESPHome device with the appropriate settings for your CT clamps and Wi-Fi network.
- Flash the firmware: Flash the ESPHome firmware to your ESP32/ESP8266.
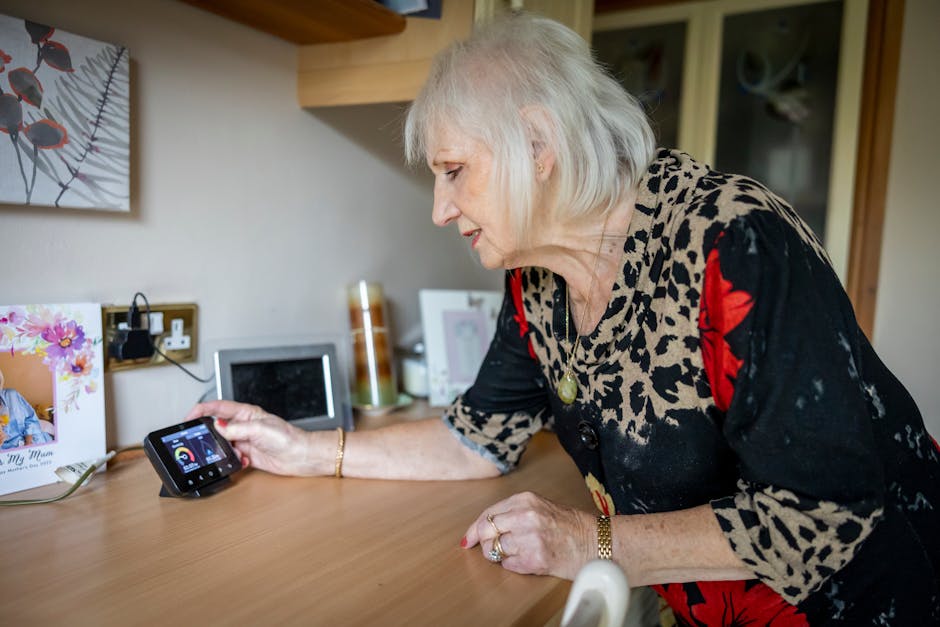 Image: An elderly woman interacts with a smart meter on a desk, illustrating energy management in modern technology.
Building Your Smart Energy Monitor: A Hands-On Guide
This section provides detailed instructions on building your DIY energy monitor, including schematics, firmware configuration, and calibration procedures.
Schematics and Wiring Diagrams: Connecting the Components
Here's a simplified schematic for connecting a CT clamp to an ESP32 (the ESP8266 wiring is similar):
CT Clamp --> Burden Resistor --> Analog Input Pin (e.g., A0) on ESP32
Important: Always use a burden resistor in series with the CT clamp to protect the ESP32/ESP8266 from excessive voltage. The value of the burden resistor depends on the CT clamp's current range and the ESP32/ESP8266's input voltage range (typically 3.3V). Use online calculators to determine the appropriate resistor value. A common burden resistor value is 100 ohms.
Flashing the Firmware: ESPHome Configuration Example
Here's an example ESPHome configuration file for monitoring a single-phase circuit:
esphome:
name: energy_monitor
platform: ESP32
board: esp32dev
wifi:
ssid: "YOUR_WIFI_SSID"
password: "YOUR_WIFI_PASSWORD"
api:
password: "YOUR_API_PASSWORD"
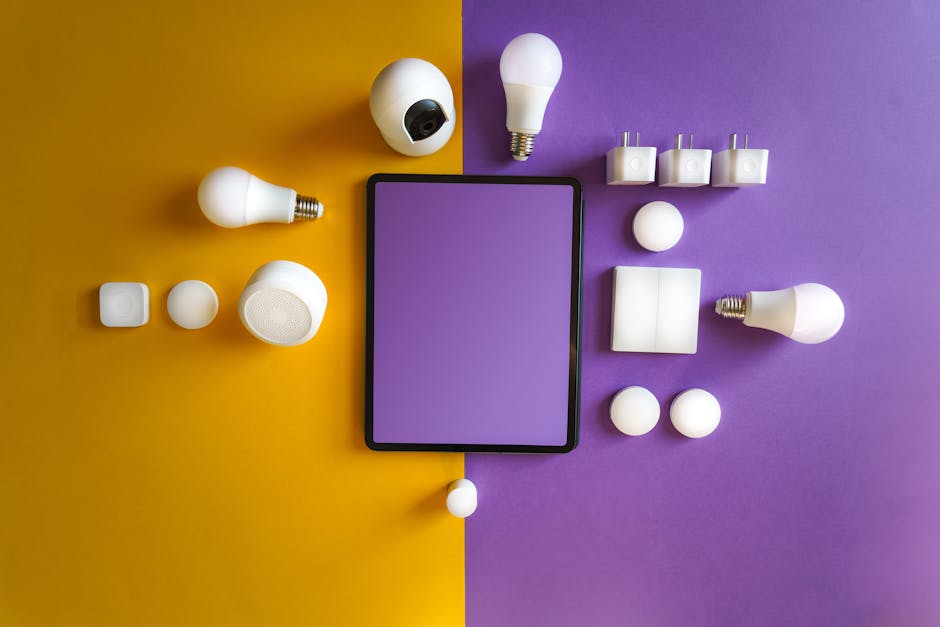
*Image: Innovative smart home gadgets arranged in a modern flat lay.*
ota:
password: "YOUR_OTA_PASSWORD"
sensor:
- platform: ct_clamp
pin: GPIO34 # Analog input pin
name: "Current"
update_interval: 1s
accuracy_decimals: 3
voltage: 230V # Your mains voltage
- platform: template
name: "Power"
lambda: 'return id(current).state * 230;' # Voltage * Current
unit_of_measurement: W
update_interval: 1s
accuracy_decimals: 3
- platform: integration
source: power
name: "Energy"
time_unit: 60s # integrate every minute
unit_of_measurement: kWh
accuracy_decimals: 4
Explanation:
platform: ct_clamp: Configures the CT clamp sensor.pin: GPIO34: Specifies the analog input pin connected to the CT clamp.voltage: 230V: Sets the mains voltage (adjust to your local voltage).platform: template: Calculates the power (in watts) by multiplying the current and voltage.platform: integration: Integrates the power over time to calculate the energy consumption (in kWh).
Calibrating Your Energy Monitor: Achieving High Accuracy
Calibration is crucial for achieving accurate energy measurements. Even with high-quality components, there can be slight variations in manufacturing that affect accuracy.
- Use a known load: Connect a device with a known power consumption (e.g., a 100W light bulb) to the circuit being monitored.
- Compare readings: Compare the readings from your energy monitor with the known power consumption of the device.
- Adjust the calibration factor: In the ESPHome configuration, adjust the
calibrationparameter of thect_clampsensor until the readings match the known power consumption.
Integrating with Home Assistant: Centralized Data and Automation
Home Assistant is a popular open-source home automation platform that allows you to centralize data from various smart home devices, including your DIY energy monitor. ESPHome integrates seamlessly with Home Assistant, making it easy to display energy consumption data in a user-friendly dashboard.
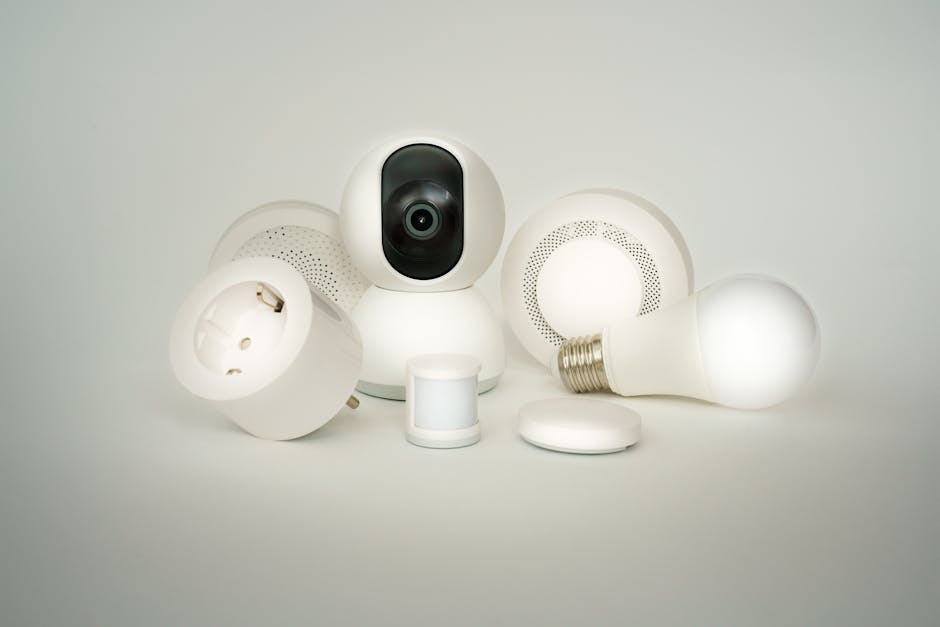 Image: A collection of smart home devices including bulbs, sockets, and cameras on a white backdrop.
Advanced Configuration: MQTT, API Integration, and Custom Sensors
For advanced users, the energy monitoring data can be accessed via MQTT (Message Queuing Telemetry Transport), a lightweight messaging protocol. This allows you to integrate the data with other applications or services. You can also create custom sensors in ESPHome to monitor other parameters, such as voltage, frequency, or temperature.
Data Visualization and Analysis: Turning Data into Actionable Insights
Collecting data is only the first step. The real value comes from visualizing and analyzing the data to identify trends, anomalies, and opportunities for energy savings.
Setting up Grafana Dashboards for Real-Time Monitoring
Grafana is a powerful open-source data visualization tool that allows you to create custom dashboards for monitoring your energy consumption in real-time. You can connect Grafana to Home Assistant or directly to your MQTT broker to access the energy monitoring data.
Analyzing Historical Data: Identifying Trends and Anomalies
Use Grafana or other data analysis tools to analyze historical energy consumption data. Look for trends, such as increased energy usage during certain times of the day or week. Identify anomalies, such as sudden spikes in energy consumption, which could indicate a problem with an appliance or wiring.
Creating Energy Consumption Reports: Weekly, Monthly, and Yearly Comparisons
Generate energy consumption reports to track your progress over time. Compare weekly, monthly, and yearly energy consumption to identify areas where you can improve your energy efficiency.
Using Machine Learning for Predictive Analysis: Spotting Potential Problems
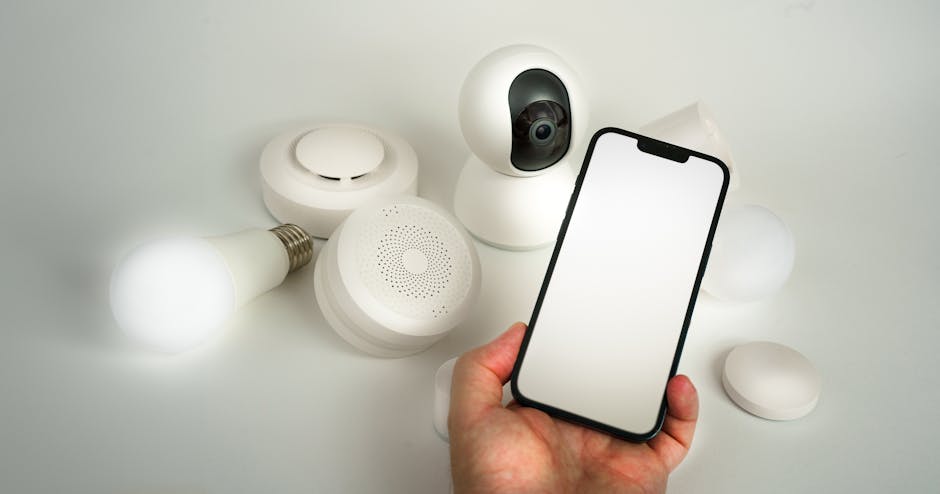 Image: Showcase of various smart home devices controlled via a smartphone, highlighting automation and security.
Advanced users can leverage machine learning algorithms to predict future energy consumption based on historical data. This can help you identify potential problems before they occur, such as an appliance that is about to fail.
Exporting Data for Further Analysis: Spreadsheets and Data Science Tools
Export your energy monitoring data to spreadsheets or data science tools for further analysis. This allows you to perform more complex calculations, create custom visualizations, and identify patterns that may not be apparent in Grafana.
Real-World Examples: Case Studies and Success Stories
These case studies illustrate how DIY smart home energy monitoring can lead to significant energy savings and improved energy efficiency.
Case Study 1: Reducing Standby Power Consumption in a Home Office
A homeowner installed a DIY energy monitor and discovered that their home office was consuming a significant amount of standby power from devices left plugged in overnight. By using smart power strips to automatically turn off these devices when not in use, they reduced their standby power consumption by 30%, resulting in a 5% reduction in their overall energy bill.
Case Study 2: Optimizing HVAC System Efficiency
Another homeowner used a DIY energy monitor to track the energy consumption of their HVAC system. They discovered that their air conditioner was running inefficiently due to a dirty air filter. By replacing the air filter and adjusting the thermostat settings, they reduced their HVAC energy consumption by 15%.
Case Study 3: Monitoring Solar Panel Production and Consumption
A homeowner with solar panels installed a DIY energy monitor to track both solar panel production and home energy consumption. This allowed them to optimize their self-consumption of solar energy and reduce their reliance on the grid.
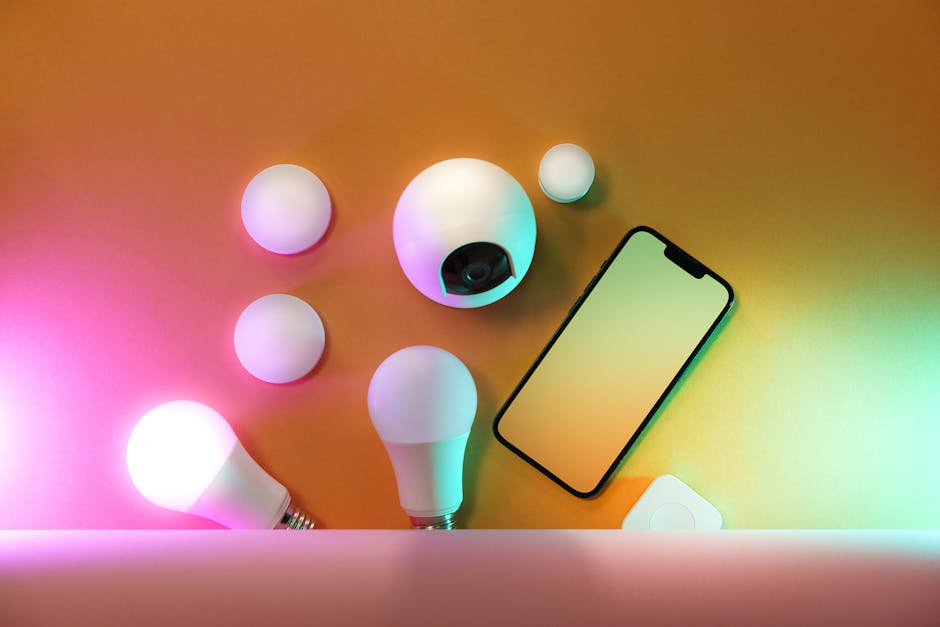 Image: A collection of smart home devices including light bulbs and a smartphone, showcasing modern technology.
Case Study 4: Identifying Phantom Loads in an Older Home
An older home was experiencing unexplained high energy bills. By using DIY energy monitoring, the homeowner identified several "phantom loads" - old appliances drawing power even when off. Replacing these with energy-efficient models led to a 20% reduction in energy consumption.
Lessons Learned and Best Practices from Experienced DIYers
- Start small: Begin with a simple project, such as monitoring a single appliance, and gradually expand your system over time.
- Document everything: Keep detailed records of your wiring diagrams, configuration files, and calibration procedures.
- Join online communities: Connect with other DIY energy monitoring enthusiasts to share tips, ask questions, and get support.
- Test thoroughly: Before deploying your energy monitor, test it thoroughly to ensure that it is accurate and reliable.
Advanced Techniques: Going Beyond the Basics
Once you have a basic energy monitoring system in place, you can explore more advanced techniques to further optimize your energy efficiency.
Phase Balancing: Optimizing Energy Distribution in Three-Phase Systems
In three-phase electrical systems, it's important to balance the load across all three phases to minimize energy losses. Use your energy monitor to track the current on each phase and redistribute appliances as needed to achieve a balanced load.
Power Factor Correction: Improving Energy Efficiency and Reducing Costs
Power factor is a measure of how efficiently electrical power is used. A low power factor can lead to increased energy losses and higher electricity bills. Consider using power factor correction devices to improve the power factor of your appliances and reduce your energy costs.
Smart Outlet Integration: Controlling Individual Appliances Remotely
Integrate your energy monitor with smart outlets to remotely control individual appliances. This allows you to turn off devices when they are not in use, even if you are not at home.
Demand Response Programs: Participating in Utility Incentives
Many utilities offer demand response programs that provide incentives for reducing energy consumption during peak demand periods. Use your energy monitor to track your energy consumption and participate in these programs to earn rebates or credits on your electricity bill.
Predictive Maintenance: Identifying Potential Equipment Failures
By analyzing historical energy consumption data, you can identify potential equipment failures before they occur. For example, a sudden increase in the energy consumption of a refrigerator could indicate that the compressor is failing.
Troubleshooting and Best Practices: Avoiding Common Pitfalls
Building a DIY energy monitoring system can be challenging. This section provides troubleshooting tips and best practices to help you avoid common